Installing an Atlas Transfer Case: What You Need to Know
The Atlas transfer case represents one of the most significant upgrades available for serious off-road enthusiasts. While installation requires attention to detail and mechanical expertise, it’s a manageable project that can transform your vehicle’s off-road capabilities. For a detailed visual walkthrough of the installation process, check out the step-by-step video from JK Gear and Gadgets.
What is an Atlas Transfer Case?
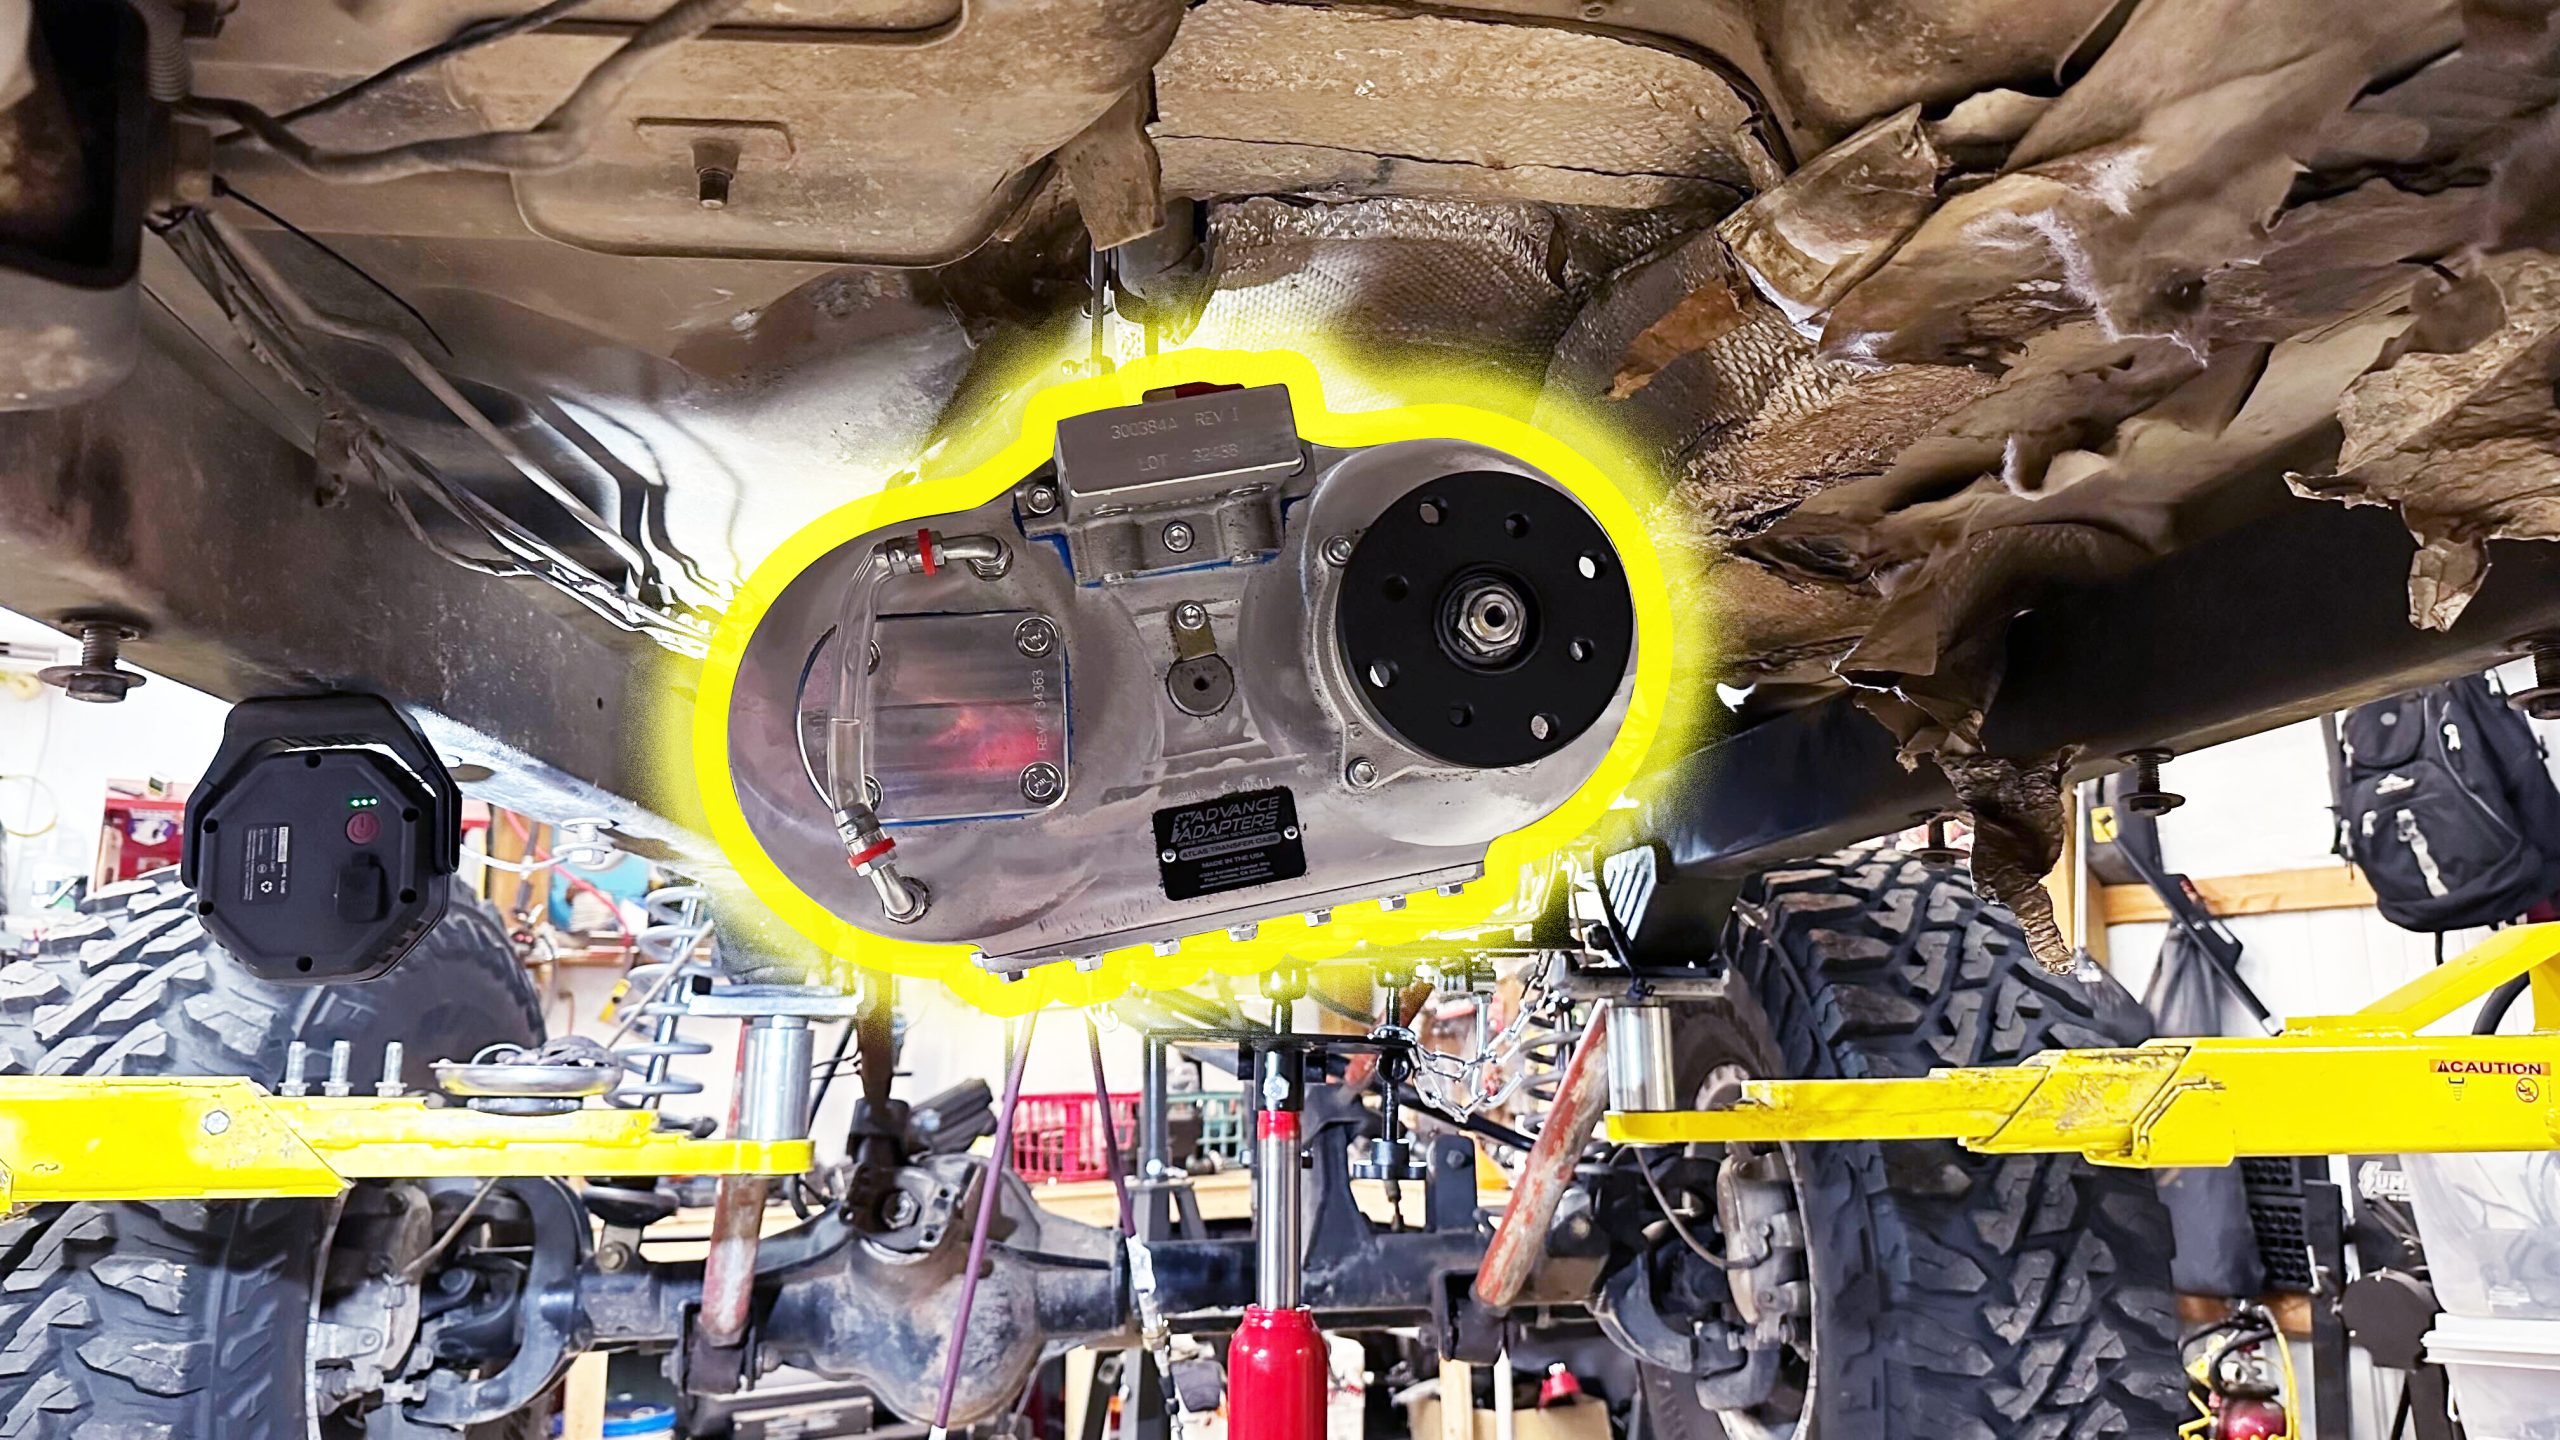
A transfer case is a component in four-wheel-drive vehicles that splits engine power between the front and rear axles, allowing the vehicle to operate in either two-wheel or four-wheel drive. Think of it as a power distribution center that lets you choose how to send engine power to your wheels. The Atlas transfer case, made by Advance Adapters, is considered the gold standard in the off-road community for its exceptional strength and versatility. What sets the Atlas apart is its unique design that allows for independent front and rear axle control, multiple gear ratio options (commonly ranging from 2:1 to 5:1), and various mounting positions to accommodate custom setups. This means you can do specialized maneuvers like “front digs” (where only the front wheels are engaged) or run higher gear ratios for extreme rock crawling.
Why Choose an Atlas?
The Atlas transfer case has earned its reputation as the gold standard in the off-road community. Its robust construction and versatile design make it ideal for everything from rock crawling to high-speed desert running. Here’s what makes it special:
- Extremely durable construction that can handle serious abuse
- Multiple gear ratio options (such as 4.3:1) for different applications
- Independent front/rear control for advanced off-road maneuvers
- Multiple clocking positions for custom applications
- Capability for front digs and rear-only operation
Pre-Installation Planning
Before you start unbolting anything, take time to plan your installation carefully. An Atlas transfer case is more than just a simple bolt-in replacement – it requires careful consideration of your entire drivetrain setup.
Drive Shaft Considerations
One of the most critical aspects of an Atlas installation is drive shaft setup. The Atlas typically requires longer drive shafts than stock, and you’ll need to make some decisions about your setup. You can choose between yoke or flange outputs, and you’ll need to consider your axle setup – high-pinion axles, for example, can help with drive line angles. Factor these modifications into your budget before starting the project.
Shifter Setup Options
When it comes to controlling your new Atlas, you have two main options:
Traditional Manual Linkage:
- More direct shifting feel
- Less flexible mounting options
- Generally preferred for race applications
- Simpler mechanical design
Cable Shifter System:
- More flexible mounting locations
- Slightly less direct feel
- Easier to route around obstacles
- Better for custom interior setups
The Installation Process
The basic installation process follows a logical progression, but there are several critical points where attention to detail matters significantly. Here’s what you need to know about the key stages:
Critical Installation Points
The adapter and speed sensor setup requires particular attention:
- Install tone ring for vehicle speed sensor with proper orientation
- Ensure proper seal installation in adapter to prevent fluid leaks
- Set proper air gap for speed sensor (approximately 0.010″)
- Double-check all seals and gaskets before final assembly

Transfer Case Position
Positioning the Atlas correctly is crucial for proper operation. The case offers multiple clocking positions, which allows you to optimize your setup for:
- Front drive shaft clearance
- Transmission tunnel clearance
- Suspension travel considerations
- Drive line angles
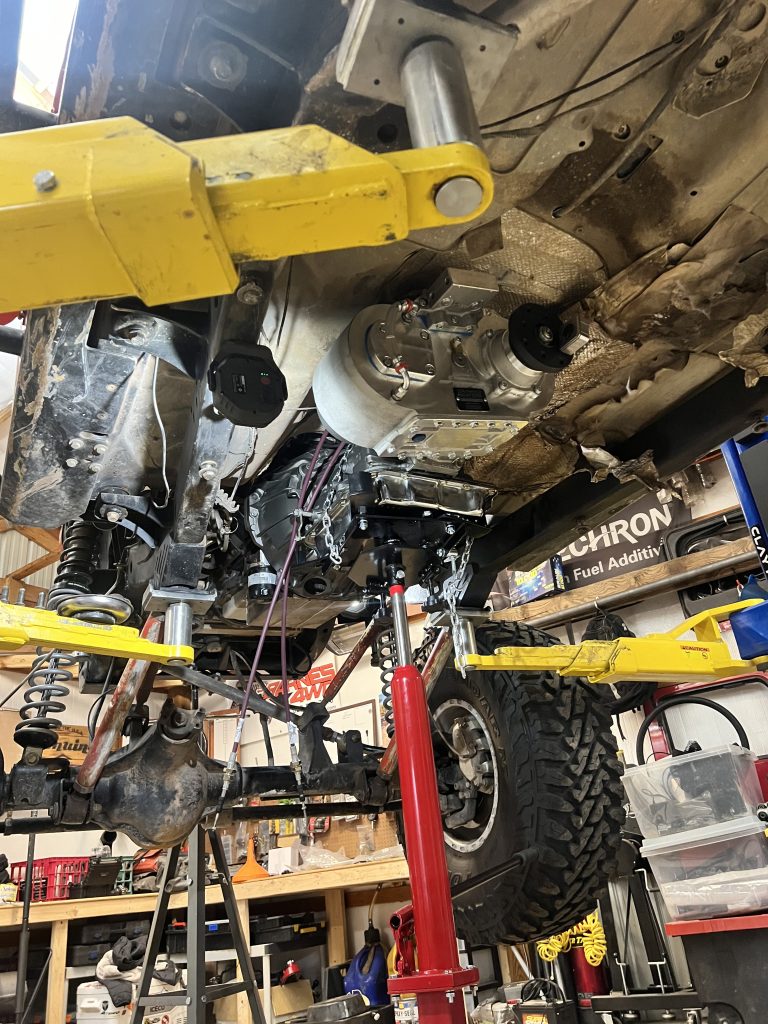
One helpful tip is to use your stock transfer case position as a reference point. While the Atlas is larger, maintaining similar angles often works well for most applications.
Common Installation Challenges
During installation, you’re likely to encounter a few specific challenges that are worth preparing for in advance. The mounting studs, for example, are designed with an interference fit that can seem problematic if you’re not expecting it. Don’t worry if they seem difficult to thread – this is intentional for secure mounting. Use the double-nut method for installation, and resist the urge to force them.
Fluid Management
The Atlas has some unique characteristics when it comes to fluid management:
- No traditional fill port
- Must fill through sight tube opening
- Critical to achieve proper fluid level
- Important to check for leaks before final assembly
Crossmember Considerations
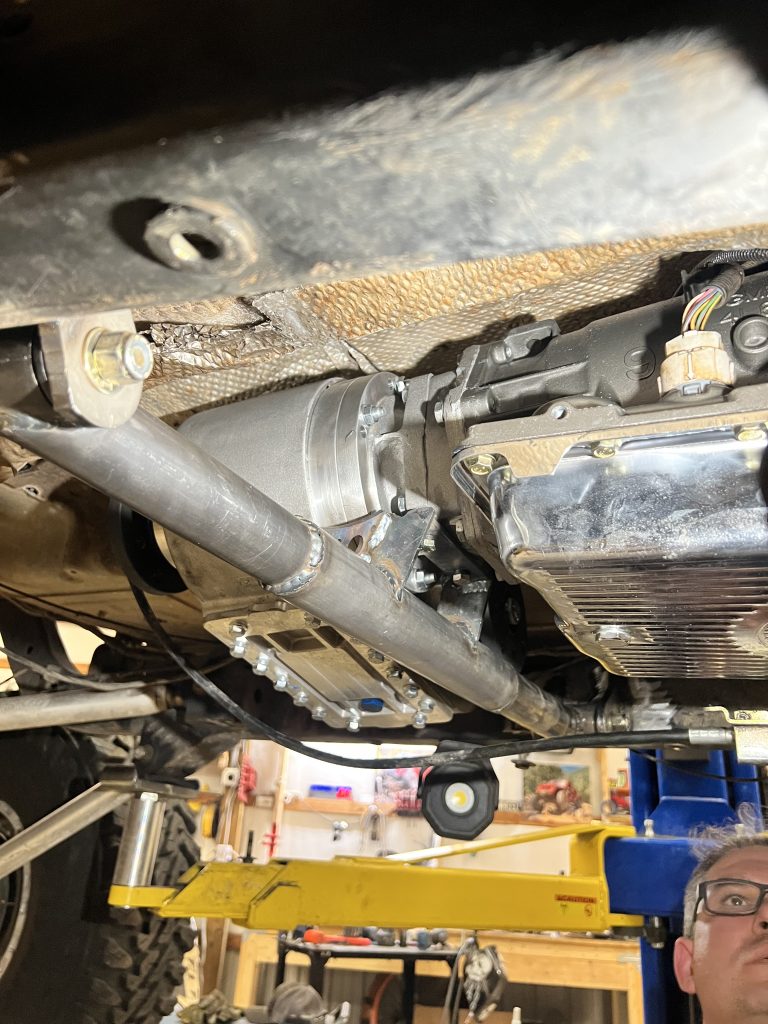
Most installations will require some form of crossmember modification or fabrication. You’ll need to balance:
- Adequate support for the increased weight
- Clearance for skid plates and exhaust
- Space for drive shaft operation
- Access for maintenance

Post-Installation Requirements
After installation, take time to properly verify everything is working as intended. Check all shifter positions, monitor for any unusual noises or vibrations, and pay attention to drive shaft angles through full suspension travel. Plan on a break-in period where you’ll want to:
- Monitor fluid levels regularly
- Listen for any unusual noises
- Check all mounting hardware
- Verify proper shifter operation in all positions
Final Thoughts
While installing an Atlas transfer case represents a significant investment in both time and money, the benefits for serious off-road use make it worthwhile. The key to success lies in careful planning, attention to detail during installation, and proper setup of supporting components. Take your time with the installation process – proper setup will ensure years of reliable service from your Atlas.
Remember: If you’re not confident in your mechanical abilities, this is one upgrade that’s worth having professionally installed. The cost of fixing mistakes could easily exceed installation costs.
For detailed, step-by-step installation guidance, be sure to watch our video above.


