POP Goes the Transmission!
THE BACKGROUND
While driving the Jeep to work one morning, I heard a weird pop noise, and it started to act a little odd. Now, mind you, my drive to work is about 2.5-3 miles one way, so this is not a long commute. I made it to work and figured we would see what happened on the way home after my shift. Those 3 miles driving home were some of the longest three miles of my life. Little did I know, I would eventually need to install a new transmission in the JK.
About halfway home, I could tell I was starting to lose gears, and everything was going away, and the Jeep was just beginning to rev up and coming to a stop. I found an excellent spot to stop while I was still moving as I didn’t want to get run over on the side of the road. Even on an in-town road, I shut it off and crawled underneath—nothing unusual. I checked the fluid, and there was plenty, but you could tell it wasn’t right. I had parked relatively close to a restaurant where some friends would eat for lunch, so I decided to walk over to see if any were over eating their lunch.
Unfortunately, none were there, and I was hoping one of them could take me home. I decided to fire it up and stick it in gear to see what would happen. It felt like it wanted to move, so I hit the gas, and about a half mile later, I came to another stop. I was at least in my neighborhood, even on the far edge of it, so I sat with the vehicle off for another 15 or so minutes to see what would happen again. Same thing, another half mile and coasting to a stop with no more gears. After doing this one more time, I was able to limp the Jeep home and into the garage.
I started making phone calls to a few friends to pick their brains about what they think may have happened. Of course, it is always hard to know without tearing it apart. But something is getting into the pump and choking it of fluid. It could be clutch material or larger pieces of debris from inside the transmission. I felt something pop that day when I drove it to work. It felt like a u-joint breaking but quieter and softer.
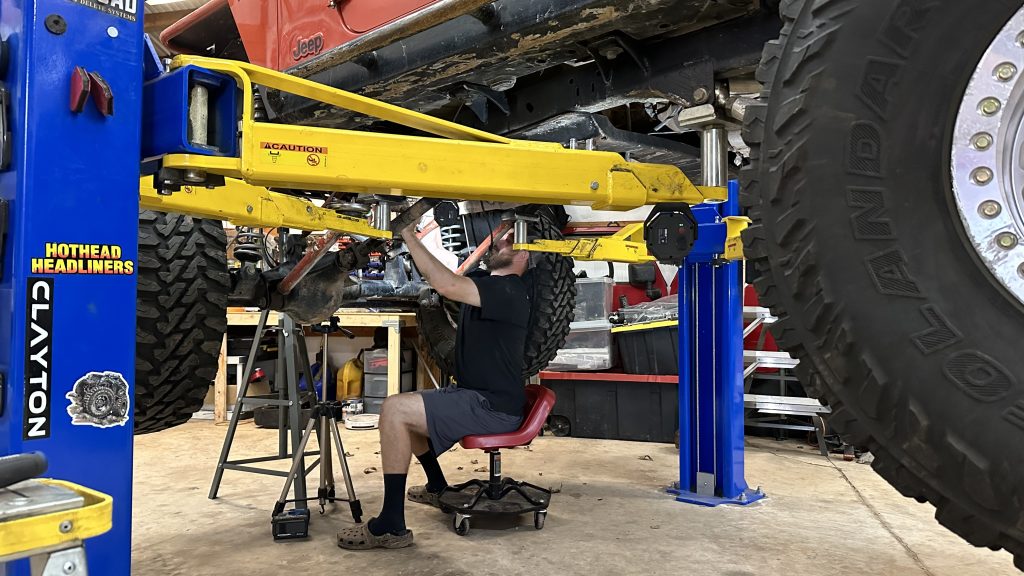
After some discussions with the wife, we decided to go ahead and buy a new transmission versus pulling the old one out and having someone tear it apart and see what was wrong with it. There is a lot I can do, but when it comes to transmissions, I want nothing to do with it. I don’t mind removing and installing, but beyond that, no, thank you. The following discussion was about whether to pull the trigger on getting an Atlas transfer case. Thankfully, my wife knew what that was from the very beginning of our relationship. I have wanted one for many years but could never justify buying one. Since I would have the whole transmission and transfer case assembly out, this would be the perfect time to complete it. Like they say, there is no time like the present.
PARTS
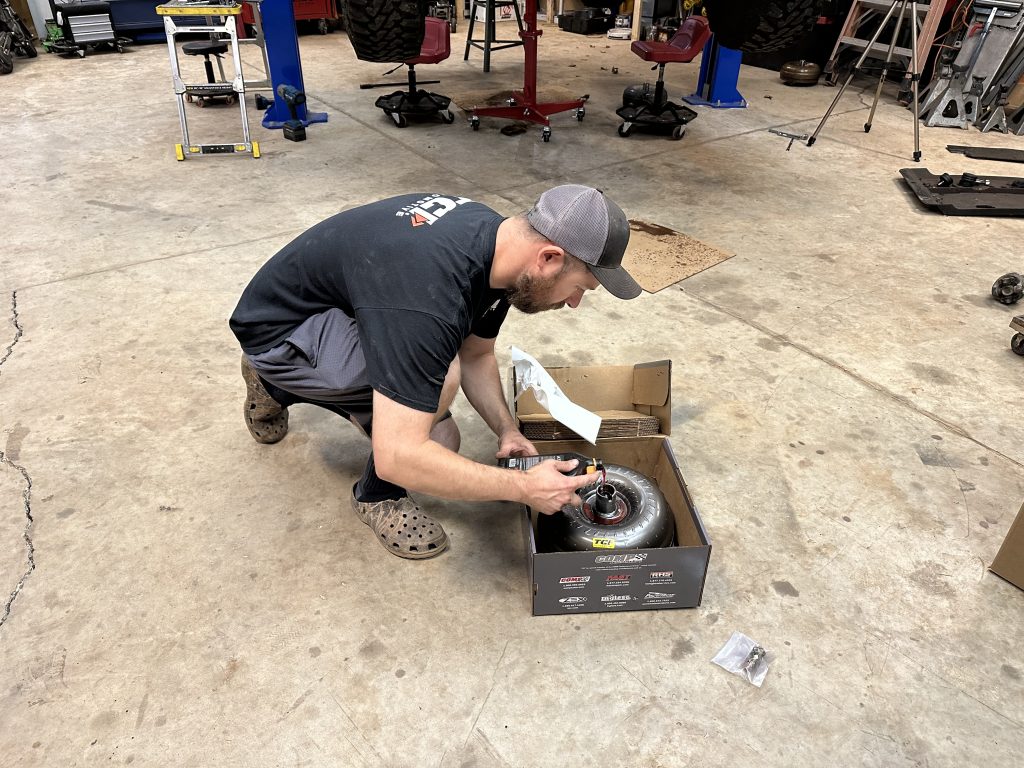
The first call was to a friend working for the Edelbrock Group, who owns TCI transmission, to discuss getting a new 4l60e transmission. Along with the latest transmission comes a new TCI torque converter, and after some discussions, I went with a 2400-2600 stall converter. At the time of this writing, I am still buttoning up the installation, and I haven’t driven it yet, so I am super excited about it. At the same time, I decided to get some AN-6 transmission lines from Russell to make it look even better. After a few calls and messages about the Atlas, a buddy, shaddylandcustoms, helped me order the Atlas I always wanted. Now, it was time to wait for what felt like an eternity for everything to come in.
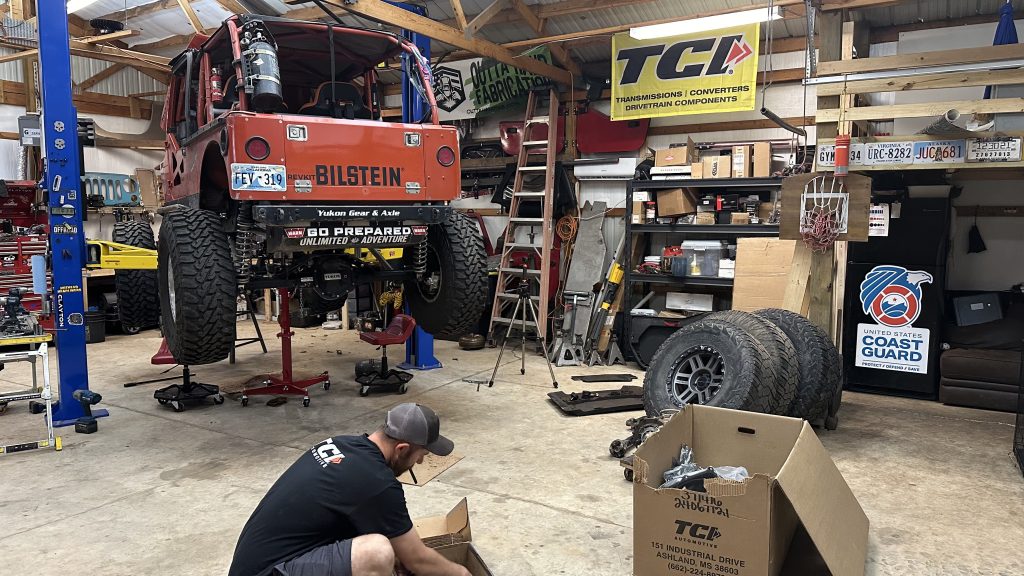
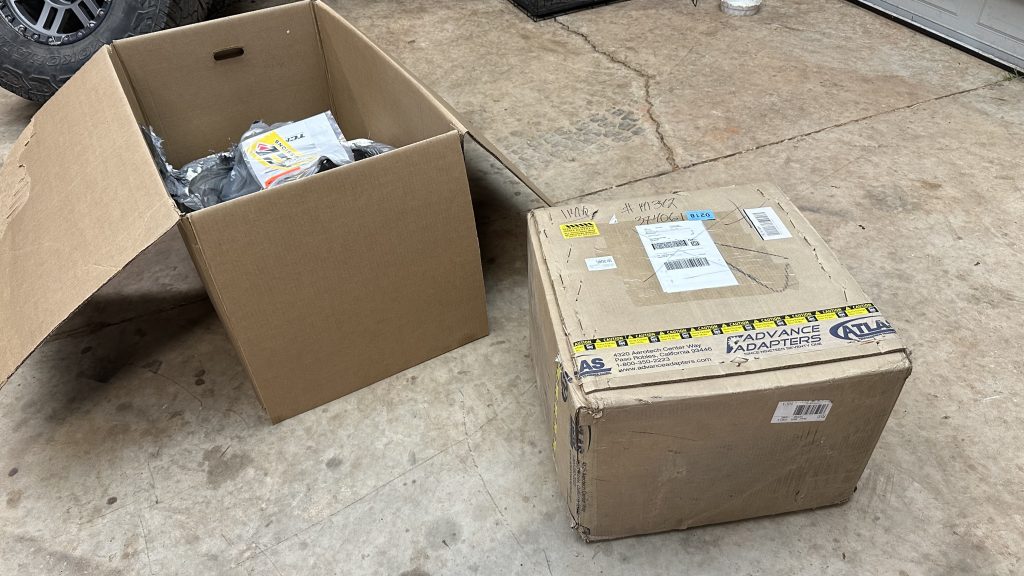
The transmission came in first, along with all the other little pieces I had ordered. Of course, I had to open it up and take a look. I knew what a torque converter looked like, so I didn’t open that box. But I looked at all the lovely little AN fittings and hose and, of course, the large box in which the transmission came in. Boy, did they package that bad boy tight. Working at a shipping company for my day job, seeing such an excellent packing job was nice. With all the molded foam, you couldn’t see much of the transmission other than the bellhousing. So I shut the box and decided I needed to order some transmission fluid, so I called my friends over at Driver Racing Oil to get their AT6 Synthetic transmission fluid on order while I waited for the Atlas to show up.
There is nothing like the Advanced Adapters Atlas, and no factory transfer case has the ability to be like an aftermarket case like the Atlas. Over the years, there has been some competition in the aftermarket transfer case to compete with Atlas, but Atlas is still king and king for a reason. It took forever for the Atlas to come in, but that is also just part of it. I also want to get the Jeep back up and running because I miss driving it, even if it is just around town.
INSTALLATION
Once everything showed up, it was time to call up Ben with JK Gear and Gadgets and schedule a time when I could come, and we could get both the transmission and Atlas installed while filming for his YouTube channel.
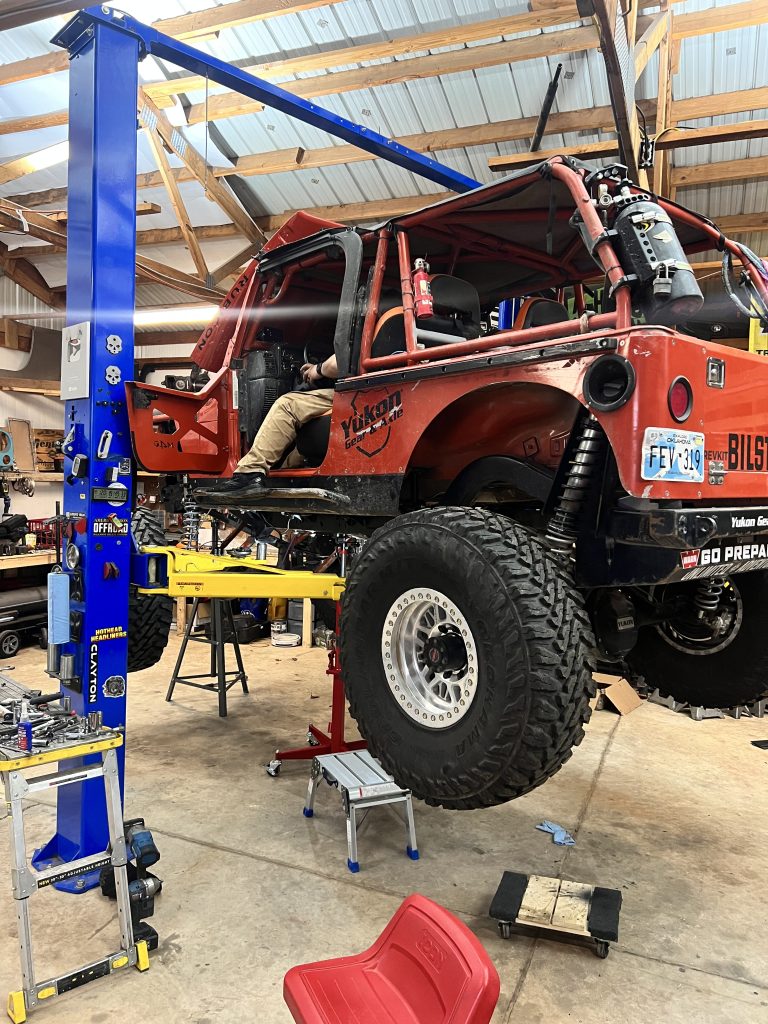
After a quick phone call with Ben, we had a game plan and a weekend planned. I showed up on an early Friday afternoon with the goal of having everything done by the end of day Saturday. We both knew it was going to be a huge task, but at the same time, I wanted to get it done and out of his way so he could get back to working on his own Jeeps. I showed up with a truck full of parts, Jeep in tow and ready to tear it all down.
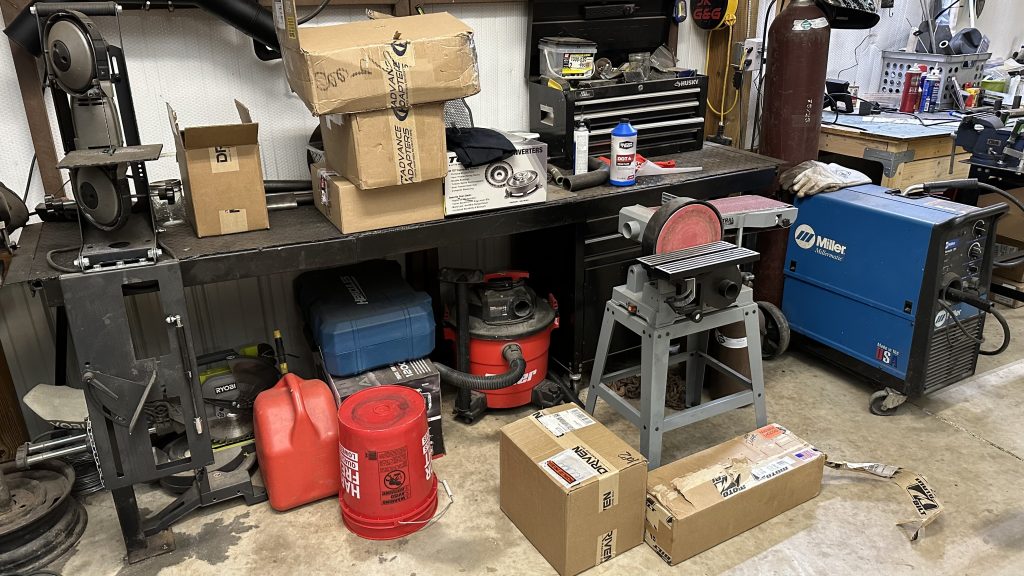
First things first, get the LJ unloaded and into the shop. Once we got that done, I unhooked the trailer so I could back the truck into the shop and unload all the new parts that were going into the Jeep. In preparation, I did some things for the LJ for the removal and installation. I had removed the transmission lines but kept a short line on the transmission so it wouldn’t spill everywhere when we started the Jeep to put it on the two posts. Went ahead and flushed the transmission cooler several times to ensure there was no debris in the cooler. I also went ahead and disconnected the transmission dipstick from the firewall, as this can be something to forget once the Jeep is up in the air.
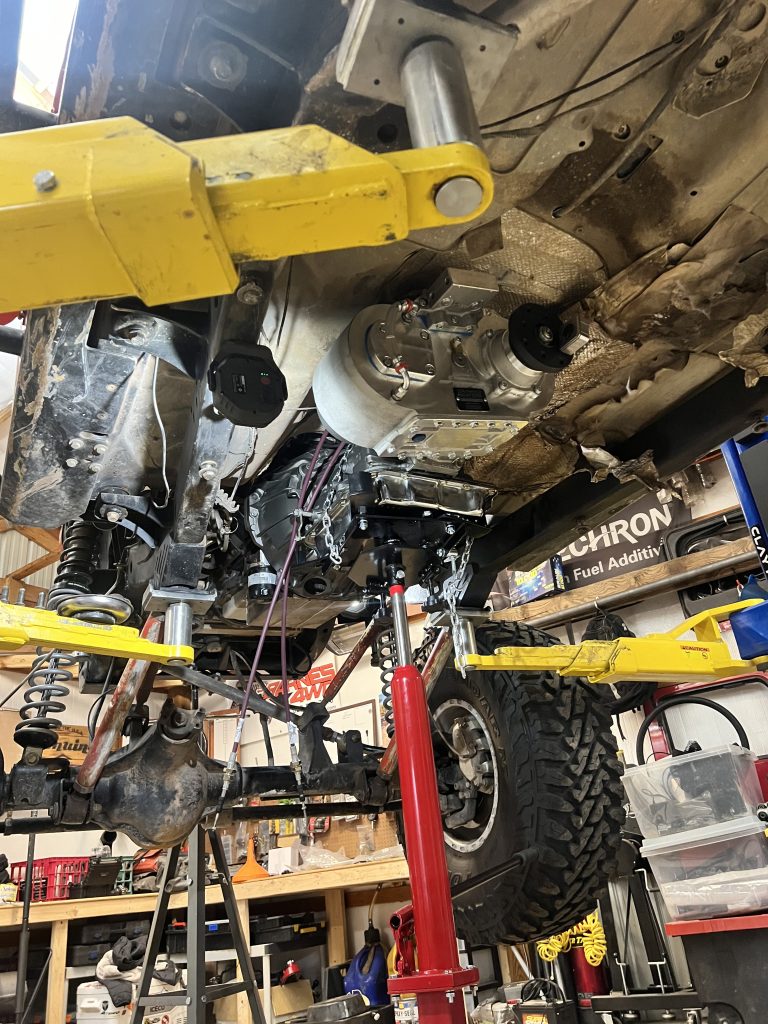
I knew I wasn’t keeping the stock transfer case, so the first thing to come off once the driveshafts were removed was the transfer case. Nothing special about taking the transfer case off. The most considerable pain was probably with the shifter. One of the four bolts that holds the plate on body did not want to come off so we had to grind it off. Anytime you are working with limited space or just two people, sometimes it’s easier to take apart as much as you can versus pulling the whole transmission and transfer case assembly as one unit, and that was our situation at Ben’s house. You can only raise the Jeep so high due to the low ceiling which limited your ability to get both assemblies at as one, so we took them out as separate pieces.
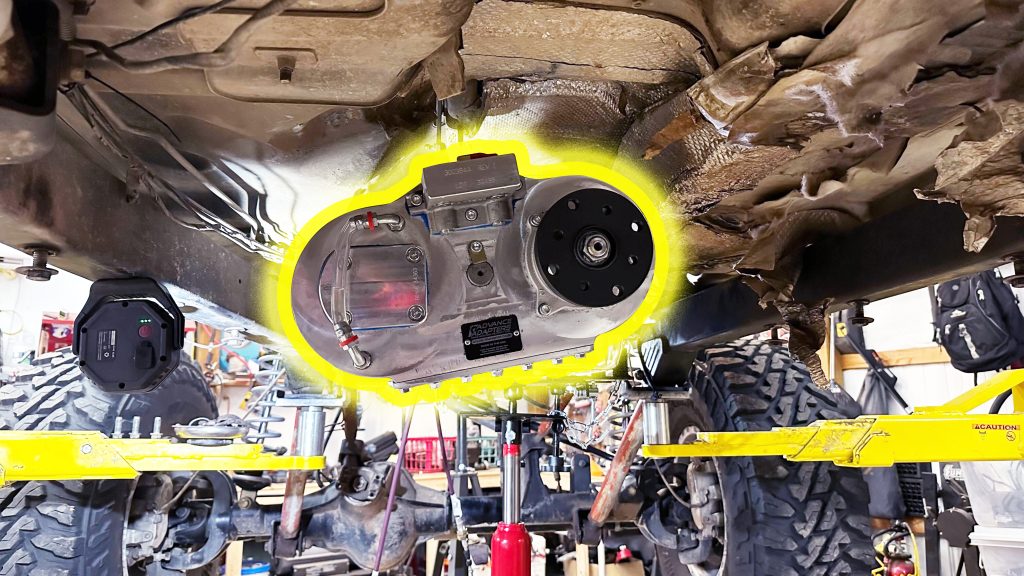
Going back together is a little more involved when it comes to adding an Atlas than it would be if you were just swapping out transmissions. When it comes to a basic transmission swap, you would grab the new one and start installing it in the Jeep or vehicle you are working on. With an Atlas, you first have to install the adapter. 4L60E, you will also have to install the speedo tone ring and make sure that it is lined up correctly on the transmission’s output shaft. Now that those two pieces are done, it’s time to clock or see where and how you want your new Atlas transfer case to sit on the back of the transmission.
Most transfer cases have a slight downward tilt to them and do not lay flat and mine is no different. A lot of that has to do with the way the front output of the transfer case is positioned vs. where the front driveshaft needs to go. Everything has to work in harmony, and sometimes you have to make adjustments. One of the beautiful things about the Atlas is that they provide those adjustments. You can set it up close but then adjust where you mount it if you need to.
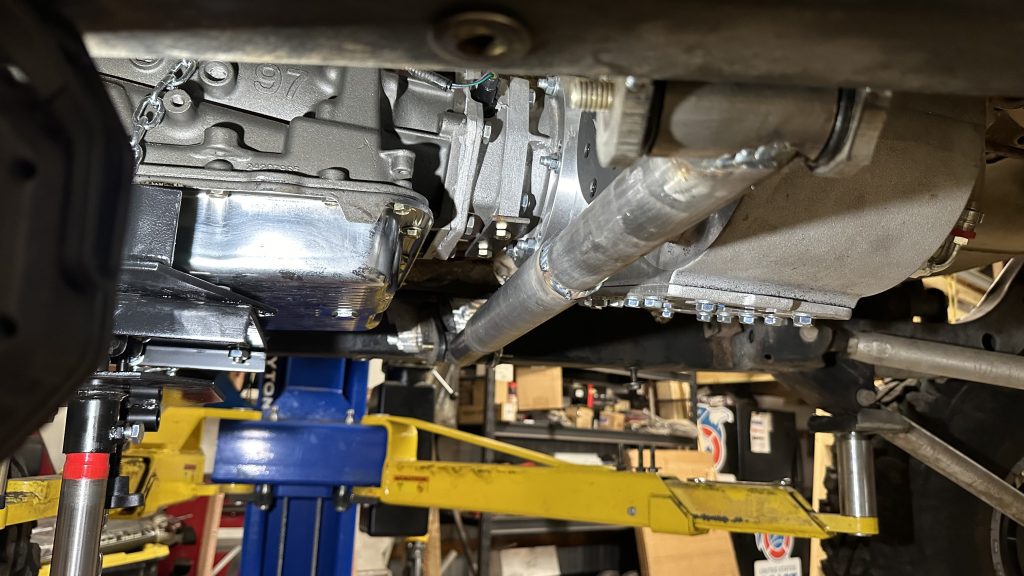
Now that we figured out the clocking, it was time to install the transmission. Anytime you are dealing with a torque converter, you will need to fill it up with a quart of transmission fluid. So, we made sure to do that before we added it to the transmission. Since we were dealing with tight space, we got the transmission on the jack first and then installed the torque converter on the transmission. You may spill a little bit of transmission fluid when you do this, but don’t worry about that; it is just the nature of the game. Just make sure you get that torque converter slipped all the way into the transmission. Next, we attached the Atlas to the transmission before bolting everything to the engine’s back. We did this to ensure we could reach all bolts, as space will get tight quickly.
Installing the whole assembly back into the Jeep went fairly quickly, but then came the part that I knew would take a little bit of time. I always wanted to add a cross member to hold the transmission/transfer case away from the skid plate system. The old way relied on the skid plate as a way to hold up the transmission through a mount. I did not want to use that type again, so I could freely unbolt the skid plate without holding up the transmission. We used a universal kit from Motobilt, and it worked like it should. Is it perfect? No, but neither is the Jeep, hence why the kit is a universal piece and not a bolt-in or labeled as anything other than universal. They know you are going to have to modify it a little to work with what you are working with.
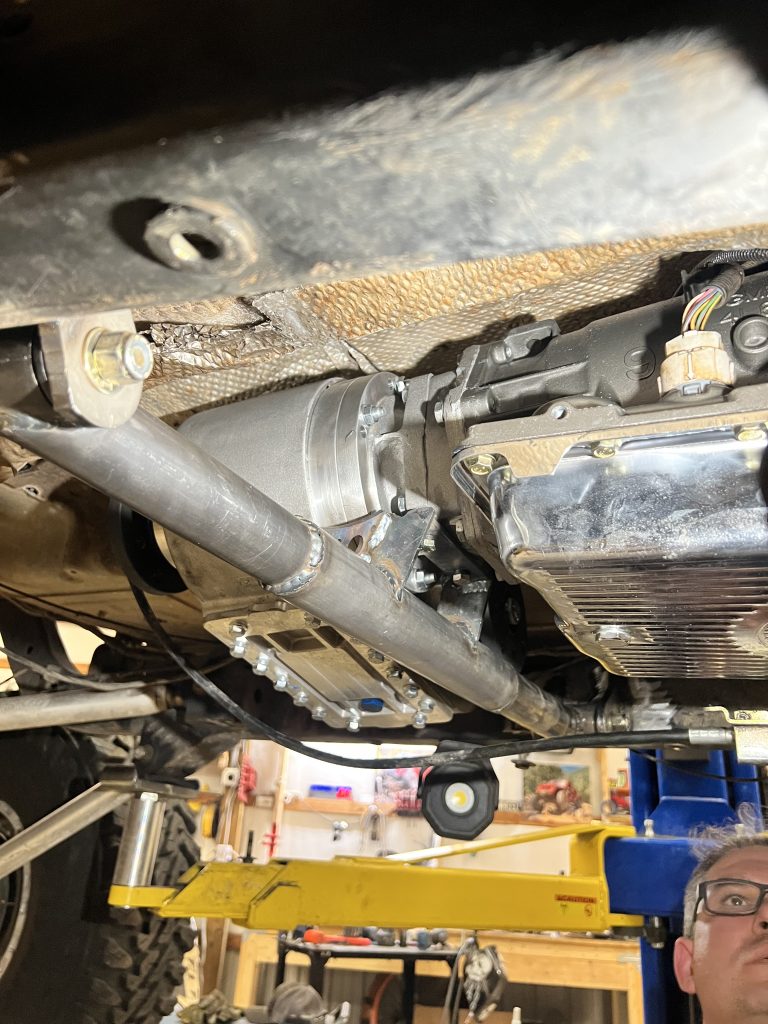
Once you have the transmission all bolted back together and we have the new cross member figured out and welded in, it is time to add the new transmission lines. I didn’t want to use the old ones for a few reasons. One, they could be contaminated, and being rubber, it is hard to get out small amounts of metal debris. Two, I wanted to add -AN fittings to the transmission lines to clean up the look and function of the cooler lines. I had ordered everything I needed from Russell, one of the brands under the Edelbrock group umbrella, and got to work creating and setting up them. I have seen -AN lines made before, but I had never made them before. These are -6AN fittings, which are not hard to make but something you need to take your time with to make sure you get it done correctly. Once I had the fitting done, it was time to cut to length and snake through the frame up to the cooler.
Now came the time to fill the transmission up, fire up the Jeep, and put it in gear. We were not able to drive it as the old driveshafts no longer have the correct length or correct mounting. I knew how many quarts the 4l60E takes, so we poured it into the transmission. We should have known better once we started to get close as the torque converter usually holds close to 3 quarts itself, but oil started to come out of the breather vent. Once we saw that, we stopped, fired up the Jeep, and put it into gear to circulate the oil so we could check the level. After adding a couple more quarts, we found what we thought would be the perfect level.
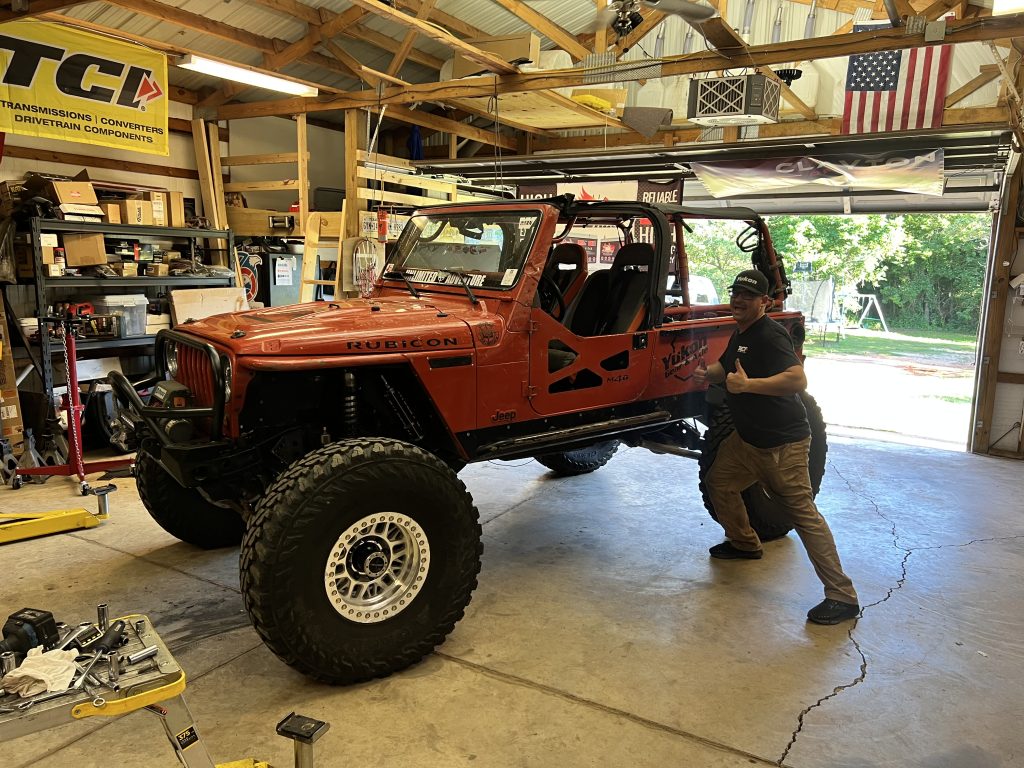
For now, the Jeep was done, as it was time to measure for new driveshafts. We loaded it up on the trailer, and it was time to go home. I could not have done this without Ben with JK Gear and Gadgets, and it was fantastic having him help me with this project. I have since wheeled the Jeep with the new transmission and Atlas, and it is incredible, but that is for another article.
