PRP Steering wheel and Genright Adapter Install
I have always seen aftermarket steering wheels. It was when one of my friends bought a buggy years ago, and it came with a detachable steering wheel. I thought it was pretty cool at the time, but I wasn’t sure I would ever want one. Fast forward many years, and after I installed the new PRP Comp Elites, I knew I needed to look at installing a steering wheel that I could remove.
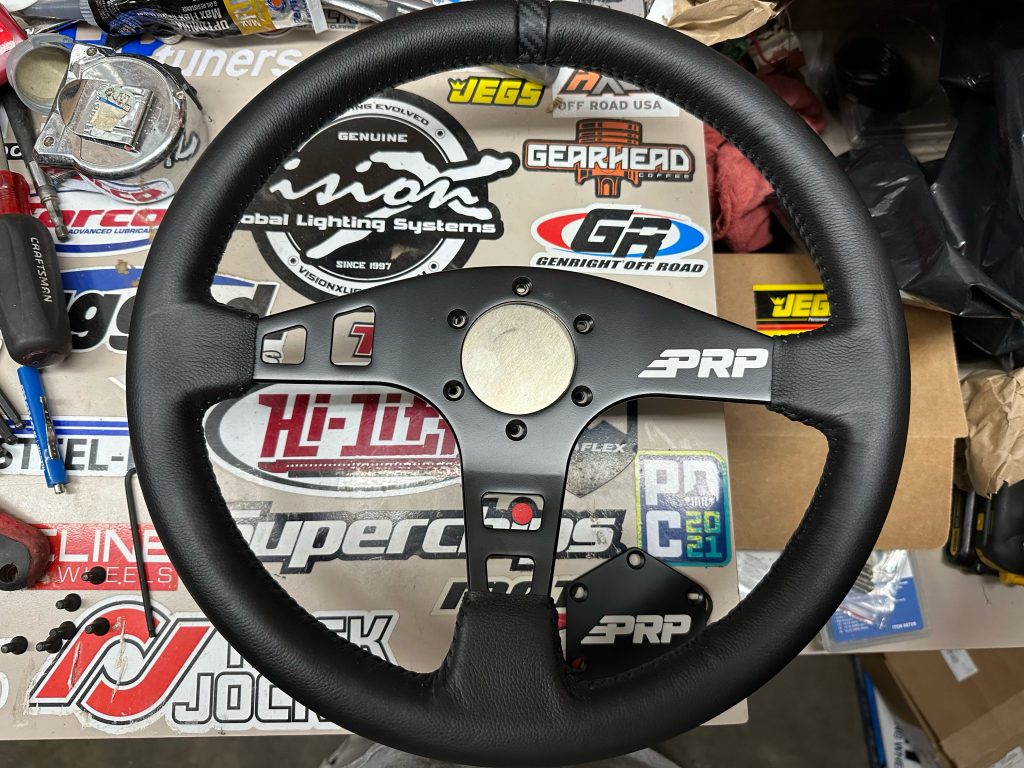
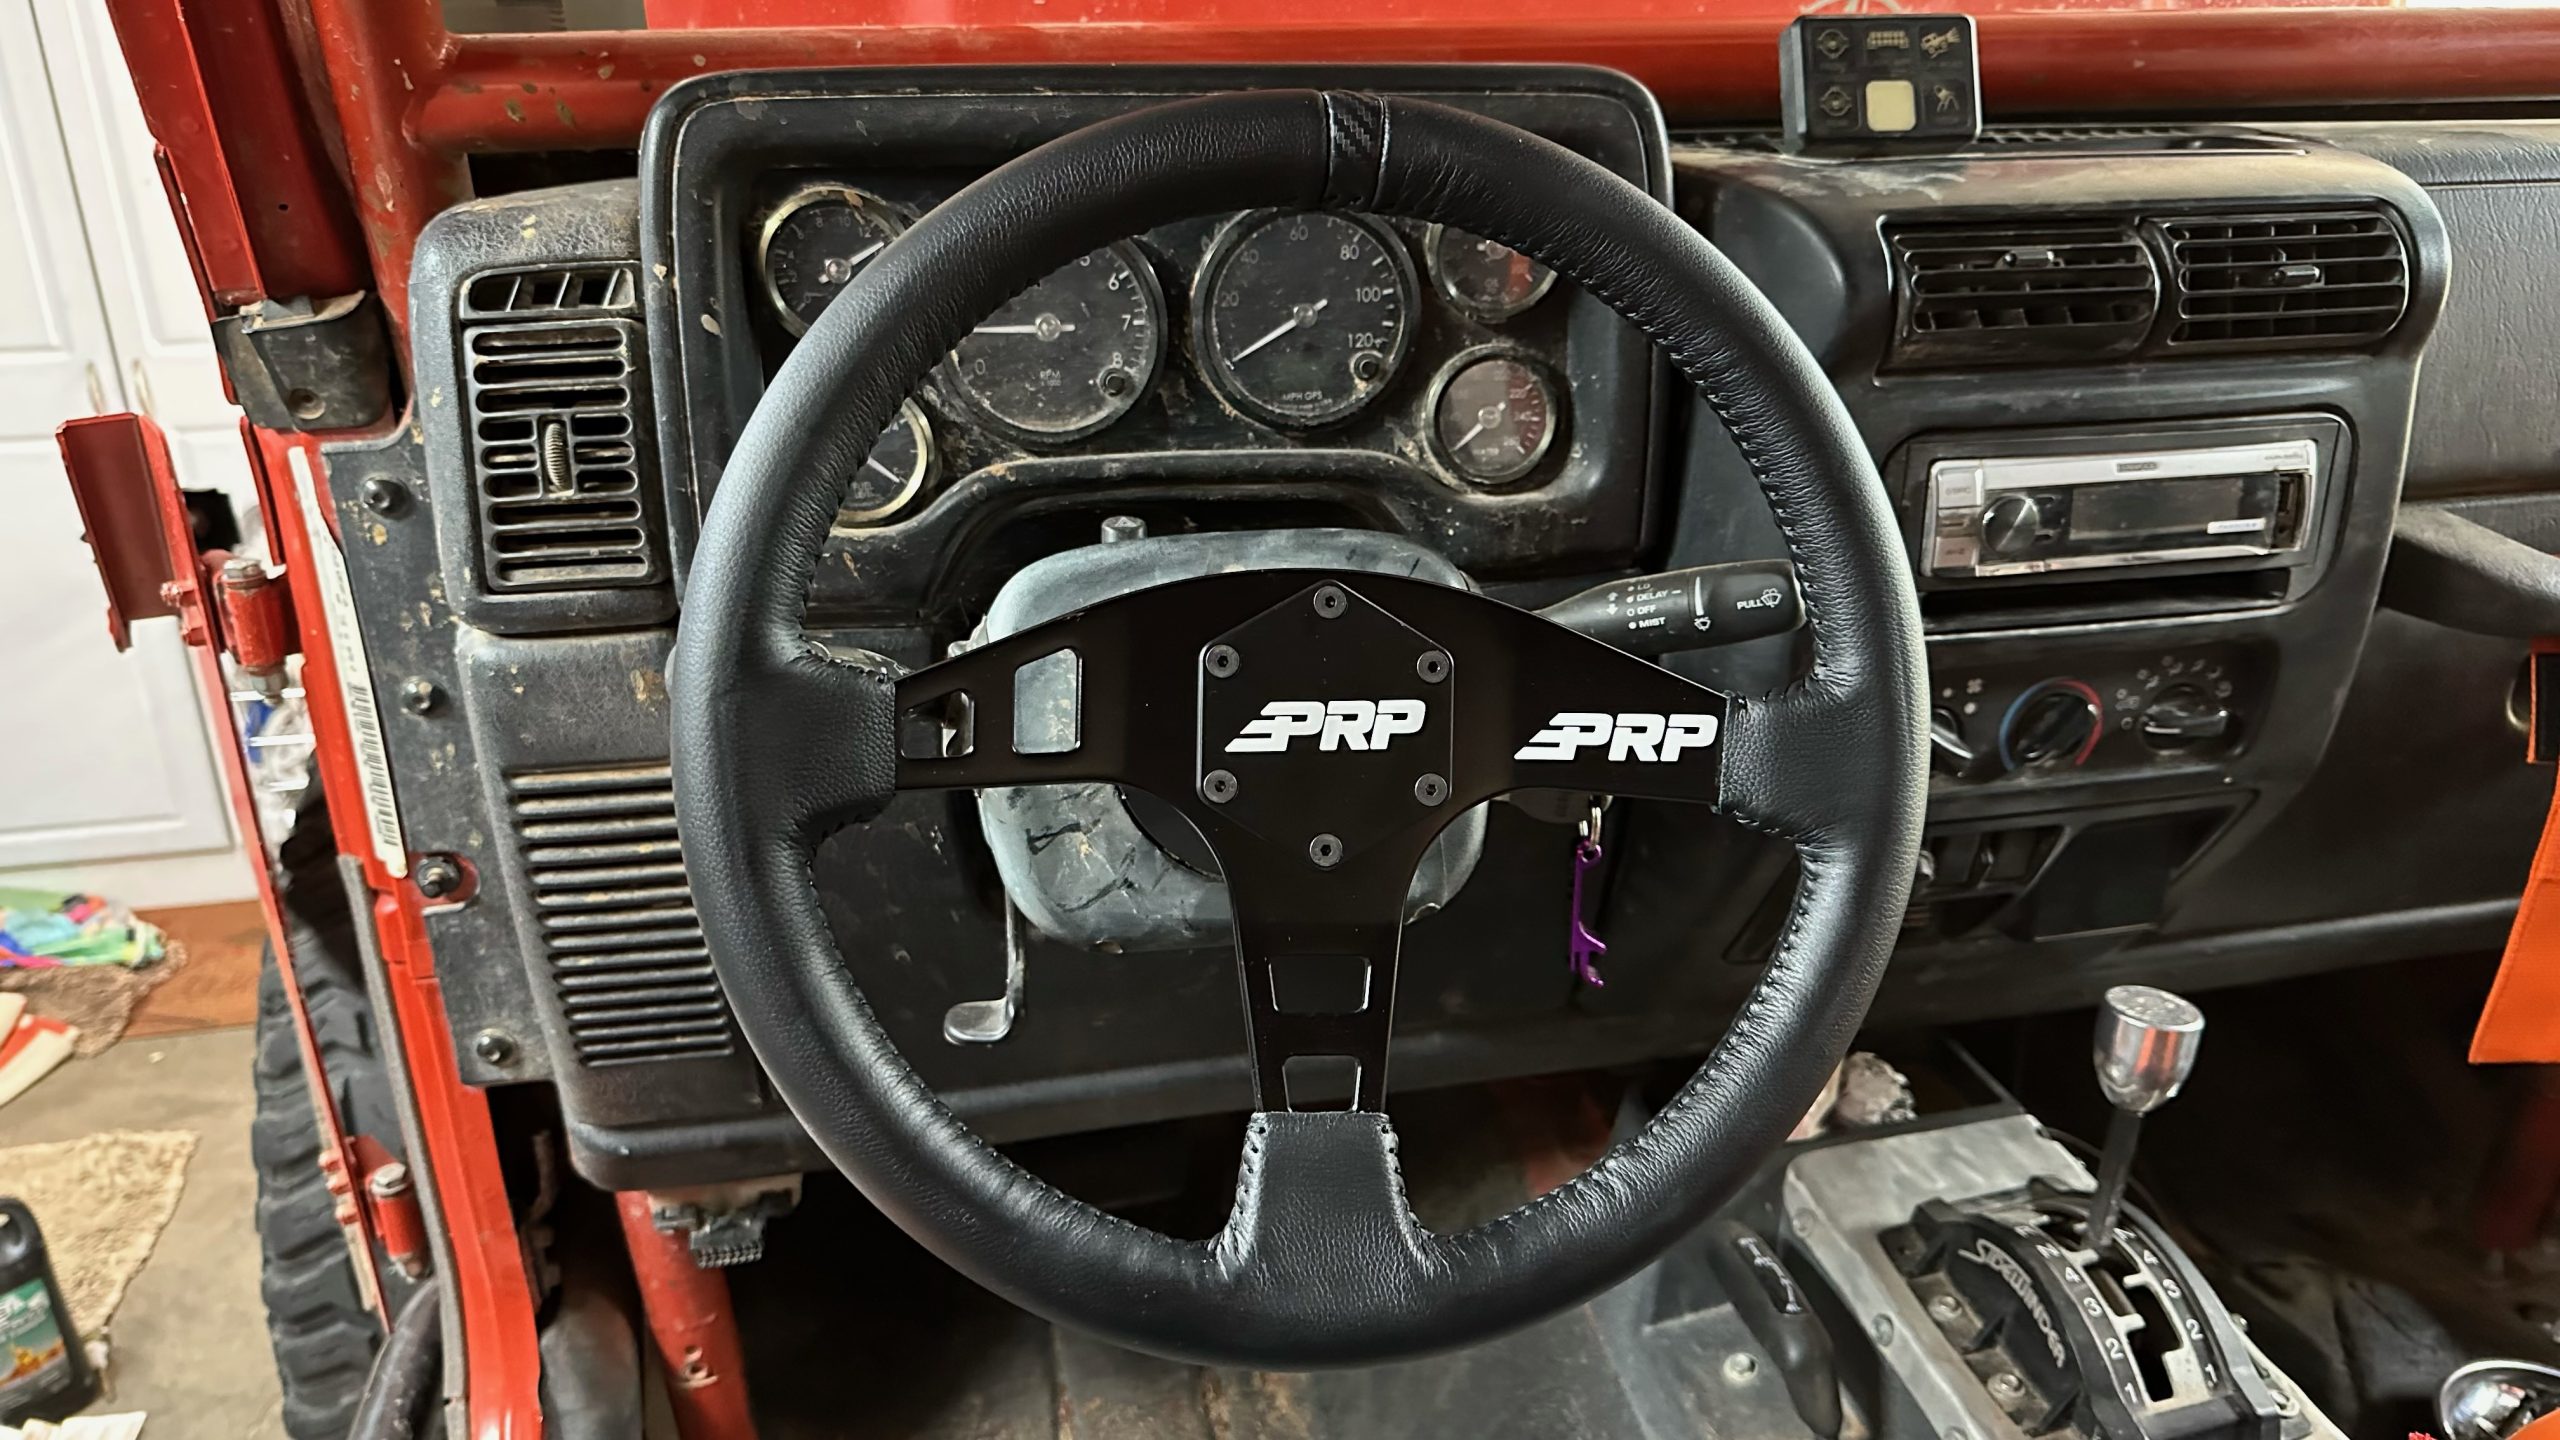
So the time was now to call up Jeff Perkins, Banshee TJ, at Genright for the one-stop shopping of both the Genright TJ/LJ Quick Disconnect Steering Wheel Adapter and the PRP Steering wheel. They always make ordering easy, and it came from California to Oklahoma. Three days and everything was at my door.
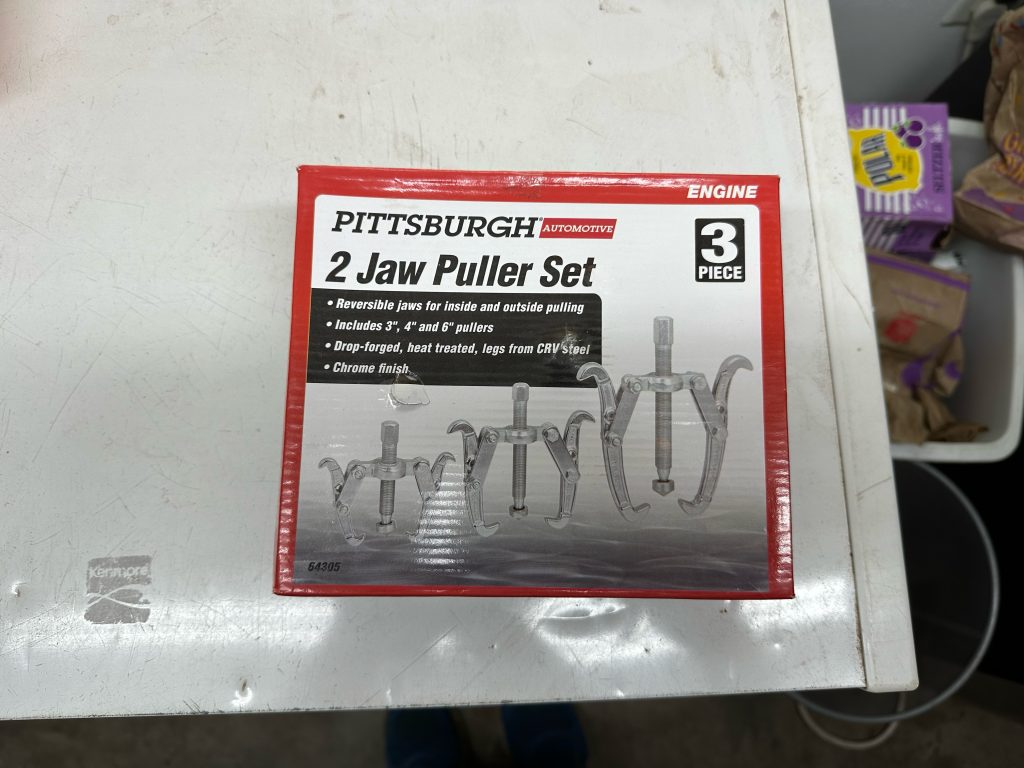
Now that the new parts came in, it was time to install everything. I read the instructions real quick to see if I needed anything special. I noticed that you will need some form of two-prong puller to get the steering wheel off. Unfortunately I do not have one, so I went ahead and ran down to my local Harbor Freight and bought a kit of three different sizes of two-prong pullers.
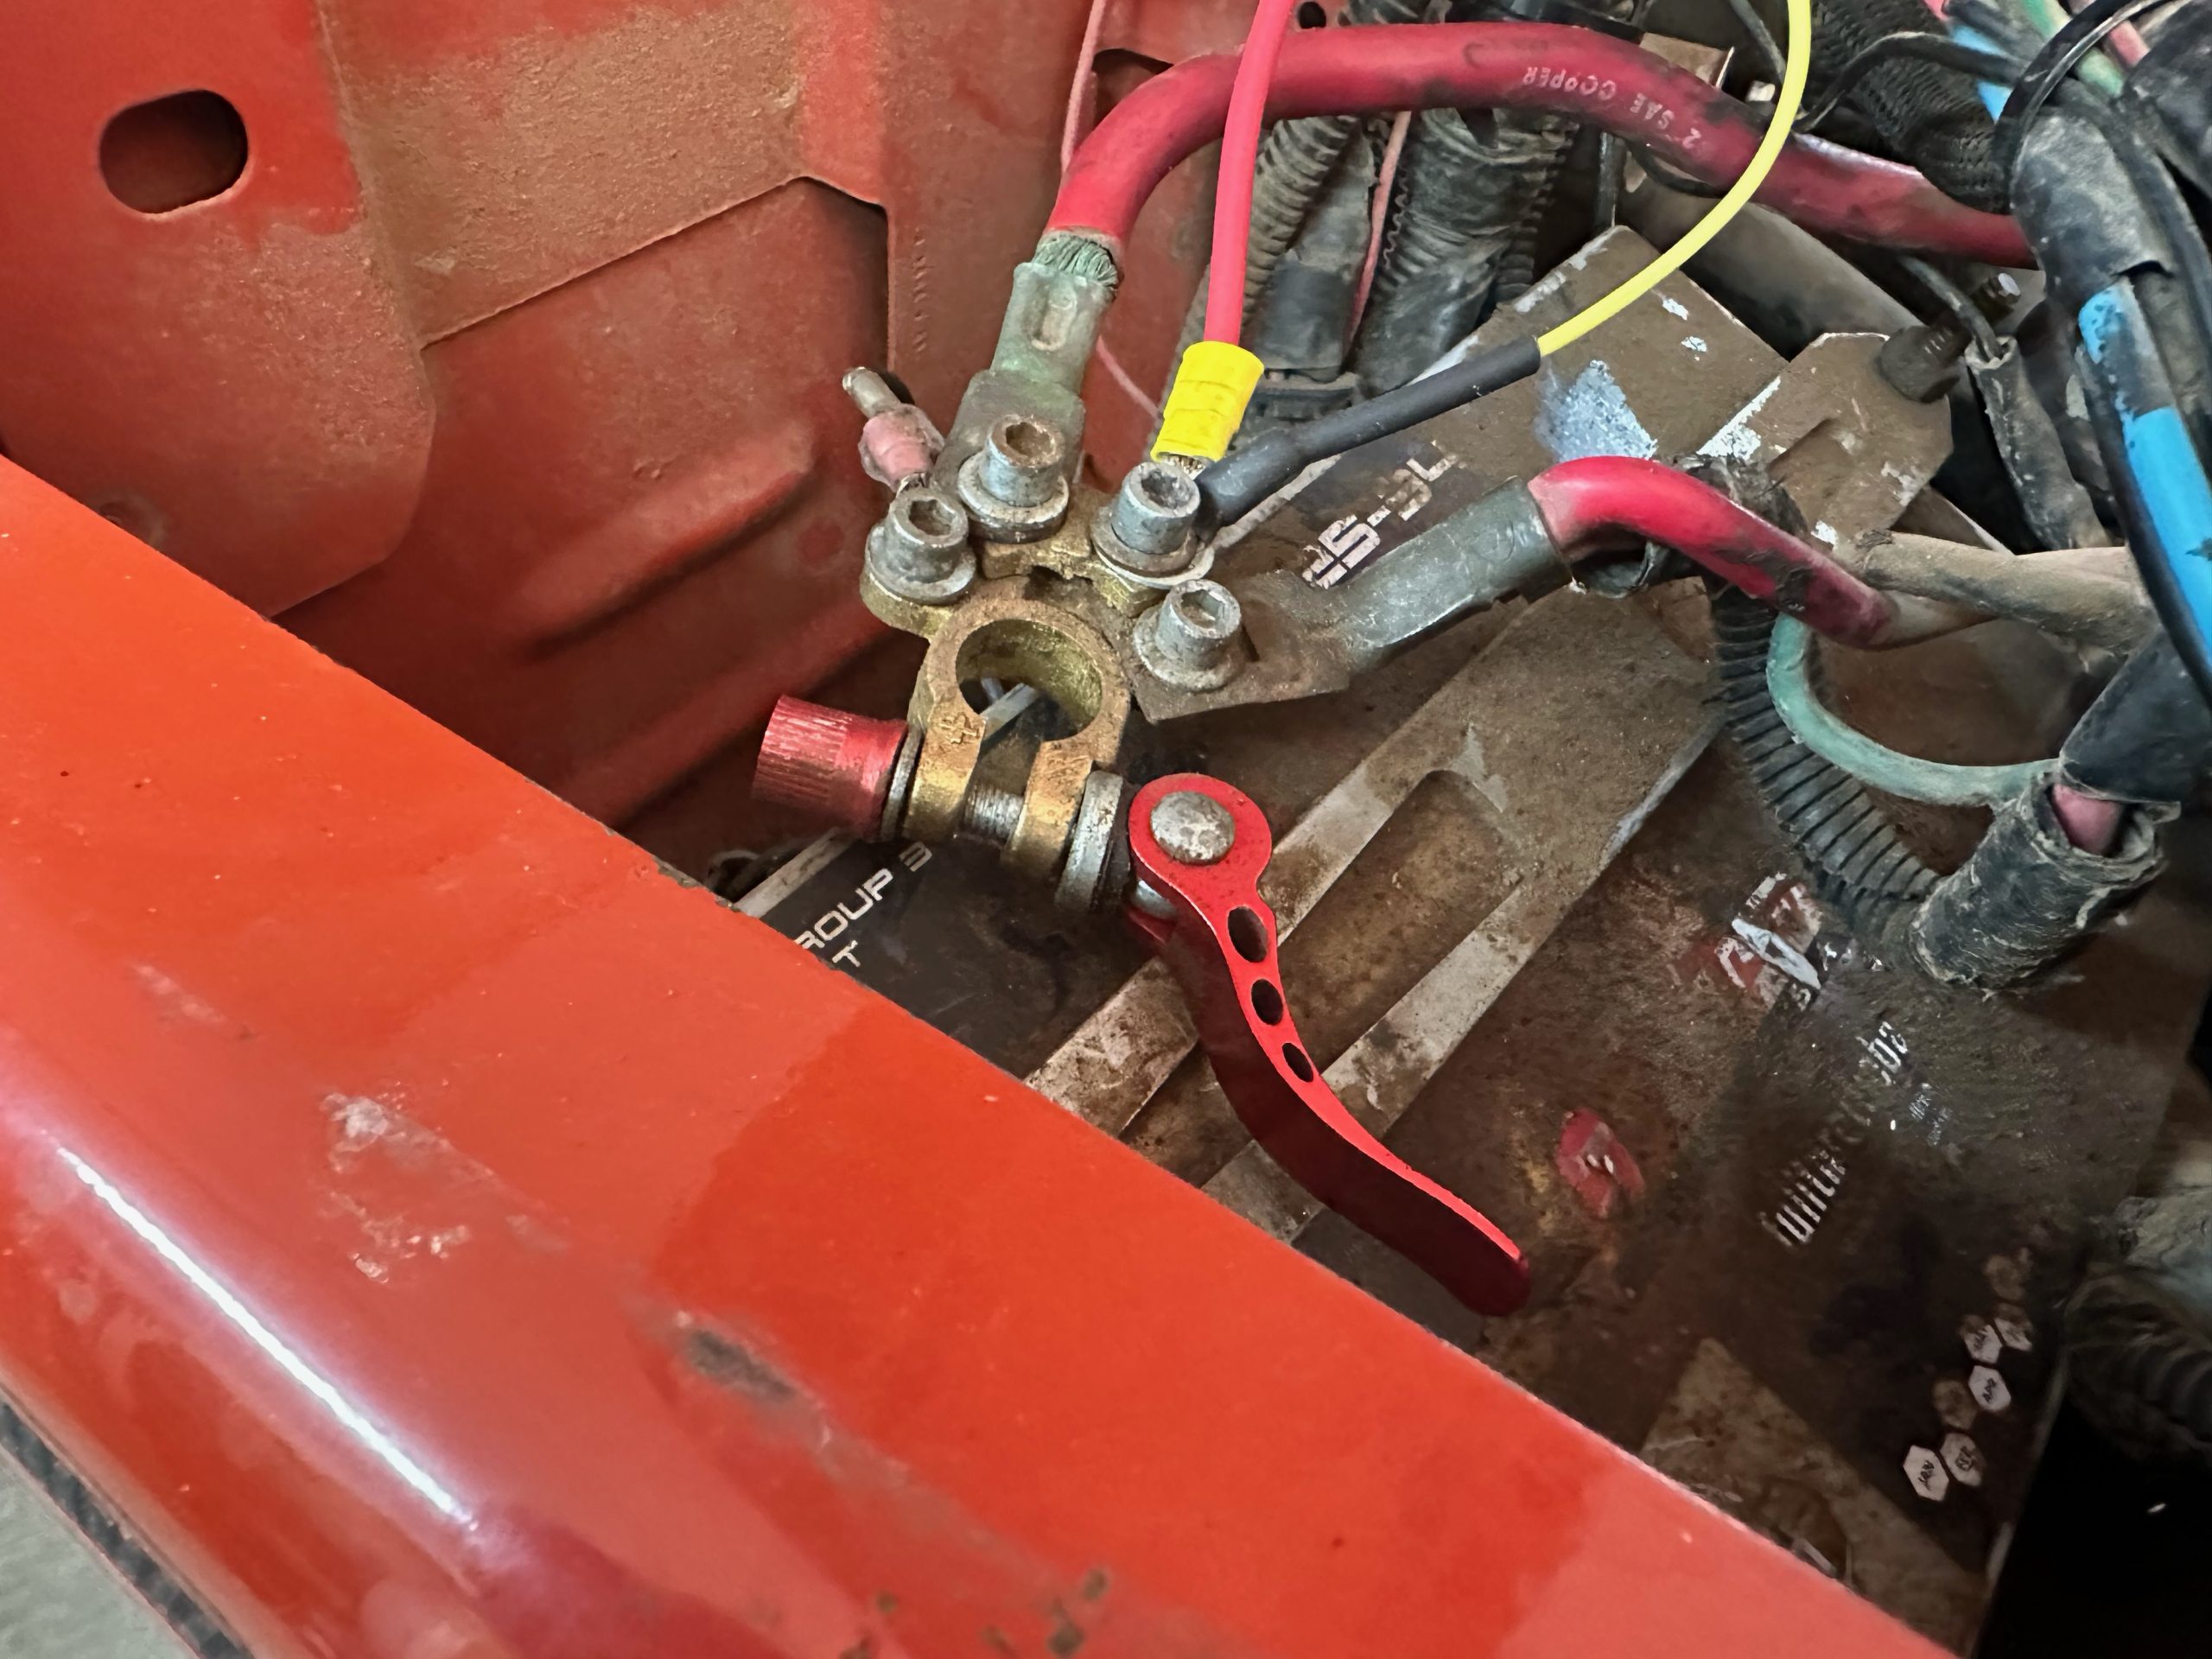
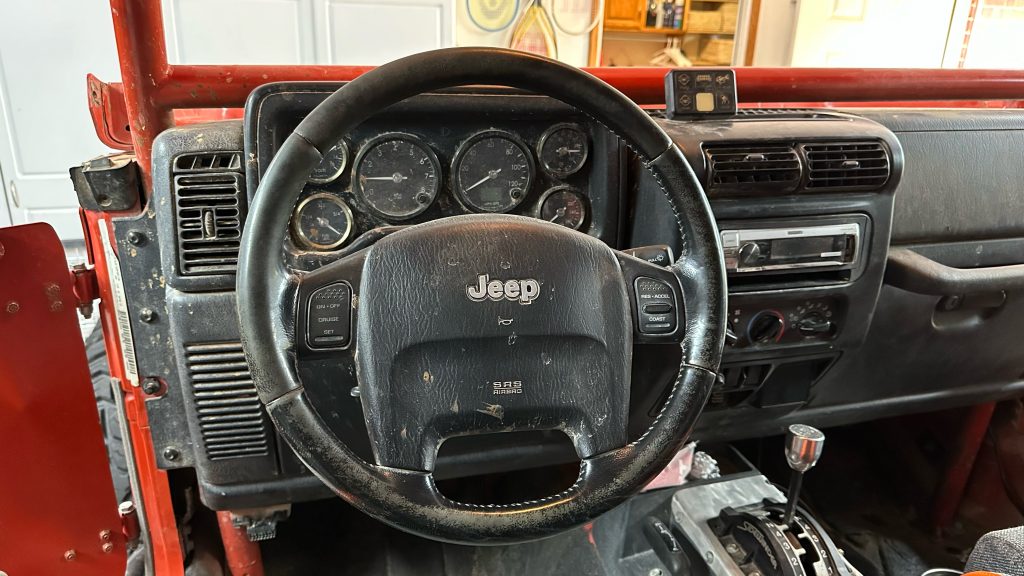
After I got that done, I returned home and started removing the steering wheel. But first thing is first, DISCONNECT THE BATTERY. You never want to mess with the airbag with the battery still connected. The last thing you want is for that dumb thing to blow up in your face while trying to disconnect it. Unfortunately, stuff like that can happen, and it is not pretty. Two screws hold the steering wheel on, and you need to use an 8mm socket on them. After the screws are removed, you can pull the airbag out, but you must disconnect the two electrical plug-ins for the cruise. REMEMBER, DISCONNECT THE BATTERY.
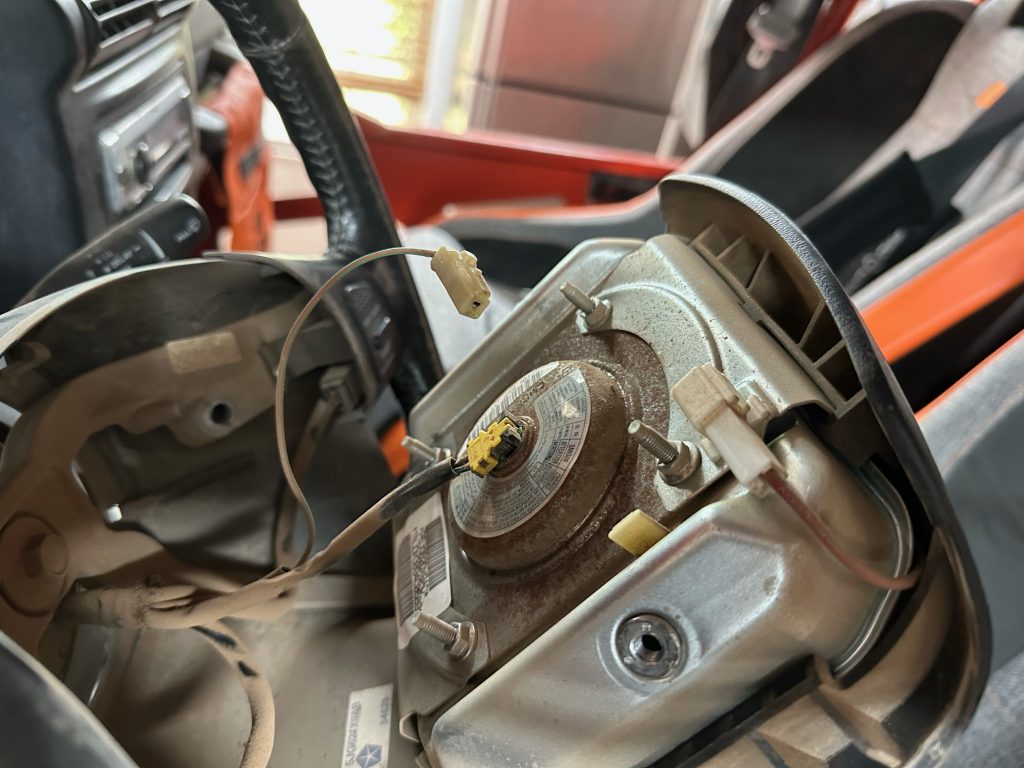
On my airbag, there were two different electrical connectors. This will all depend on whether your steering wheel has an airbag or if it also has buttons on the steering wheel for other controls. Now that the electrical connections were unhooked and the airbag was gone, it was time to unscrew the steering wheel. After I got the bolt loosened, I kept it where it belonged so I could use the two-prong puller to push off the bolt.
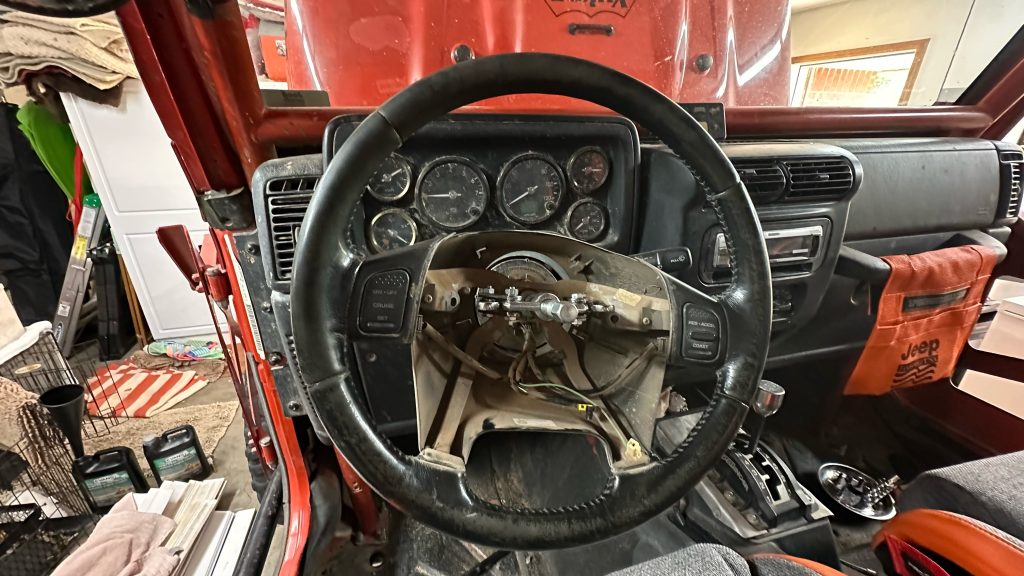
Now that the steering wheel has been pulled off, I removed the clock spring since I didn’t need to keep the electrical connections. I did a quick paint on the Genright adapter before installation. One nice thing about the Genright adapter with the late model TJ/LJ is the adapter is attached via a bolt. For some of the older TJs, you will have to drill and tap, and Genright does include instructions on how to do that. Thankfully for mine, it is not needed. I used a little bit of Loctite on the bolt as I never intend to remove the bolt again.
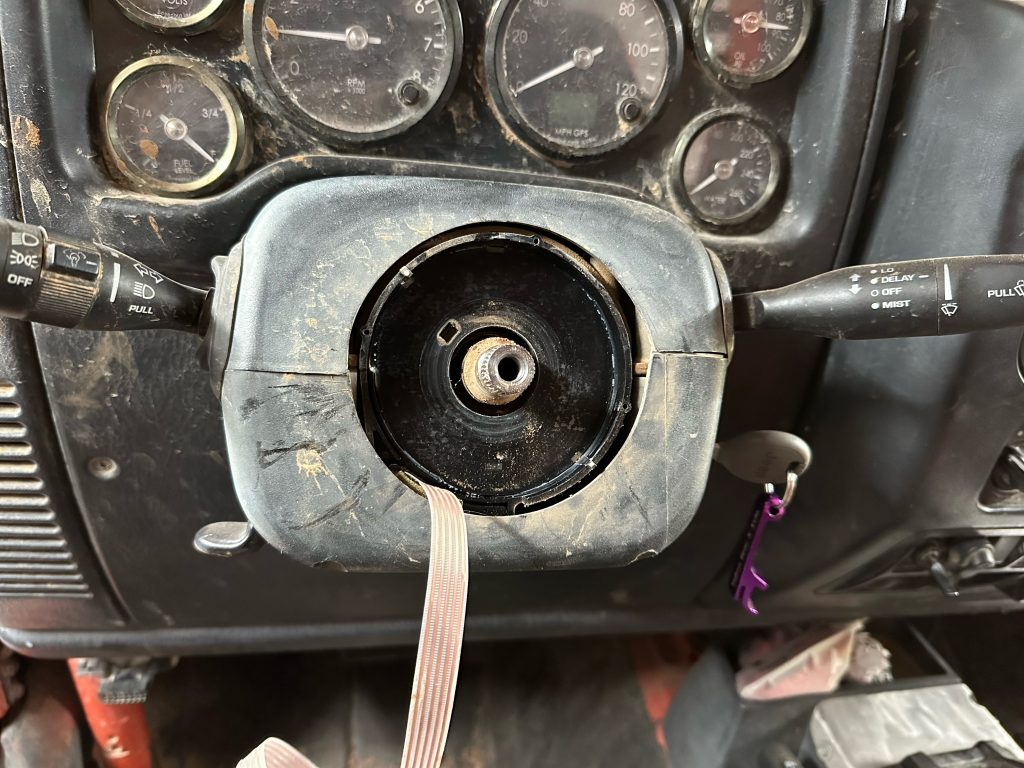
Once I installed the adapter, I returned to my workbench to install the disconnect to the PRP Steering wheel. Again, I used some Loctite to ensure the bolts connecting the steering wheel to the disconnect wouldn’t come off. One of the reasons I went with the Genright adapter and disconnect is because it is a genuine splined connection. Some of the other companies use this ball-bearing style. I’m sure they are fine, but the splined style is stronger and something you see on virtually every Ultra4 car or other types of racing vehicle.
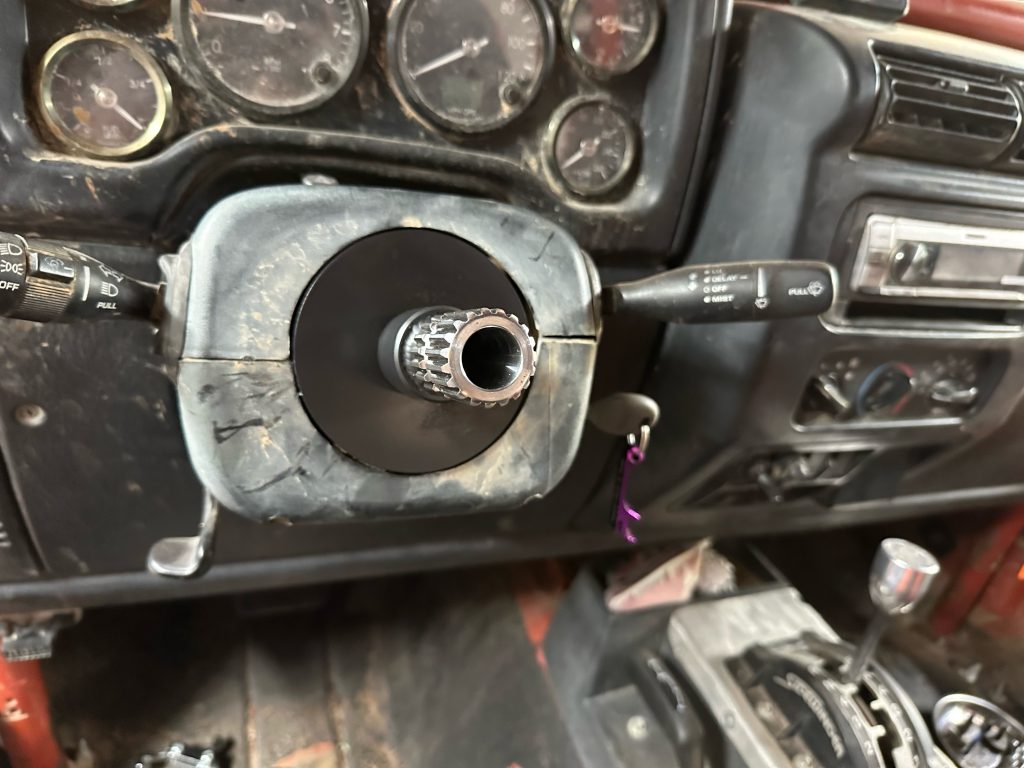
This was a crazy easy install, and you should not hesitate if you are looking into a new steering wheel with the ability to remove it. If you have questions, call Jeff or find him at a Jeep event; he would love to answer any questions.
